Reading in Student Answers
The Scantron workstation is located outside room 425A, Meyer Hall.
Navigate to File > Open Form Template > Scantron folder and choose desired form.
Stack the papers in this order:
- Answer Key Sheet
- Student answer sheets
When loading the paper, the top of the page should be towards the left, face up, and the Timing Marks should be closest to you as seen here:

Use the paper size guide to stack the paper neatly and depress the "Press to Load" button to adjust for the size of the stack.
Set the scanner to "Perform Test Scoring"
(usually already done by default - if the LCD screen displays perform survey or ballot scoring, click the NO button until you see "Perform Test Scoring")


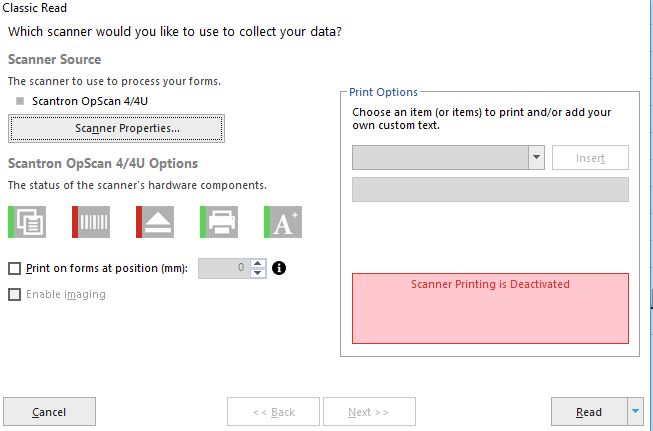
Read the instructions prompt that will pop up - click OK on the window to move onto the next step.

On the physical scanner itself, click the Yes button on the LCD display, the scanner will begin to read all the documents.

Once the capture is complete, you should see a spreadsheet looking columnar table, with the first row being the Answer key and the following rows being the student answers.
You must click the Quit button for Feed answer sheet or results sheet 002 and Yes button for Results will be lost? Quit? to end the session or else you will not be able to interact with the Remark Classic software after the first scan session.
Click OK on the End Scan Session pop up indicating the scan session has completed.
Immediately save the inputted data by navigating to File > Save As. (Be sure to save to a secure location as this is FERPA protected information. A standard operating procedure "SOP" regarding this is under development.) If files are ever saved to the lab computer, be sure to delete them and empty the recycle bin prior to leaving the workstation.
Analyzing the Scanned Exam Sheets
Once the data is saved, it is time to begin the analysis. Click the Quick Grade button on the toolbar.
By default the Student Statistics Report will load.
To perform an item level analysis, click the Item Analysis Report menu on the left hand side of the screen.
The Item Analysis Report menu will expand presenting the following options:
Example: The Condensed Item Analysis Report will display as follows.
To save any report, click the Export Report button on the toolbar.
When prompted, choose your export settings, then choose a name and location to save the report.
Coming soon:
WORK IN PROGRESS DO NOT USE YET
Student Name to ID # Mapping.
First, create an Excel template of all the student IDs and Names using this template.....


